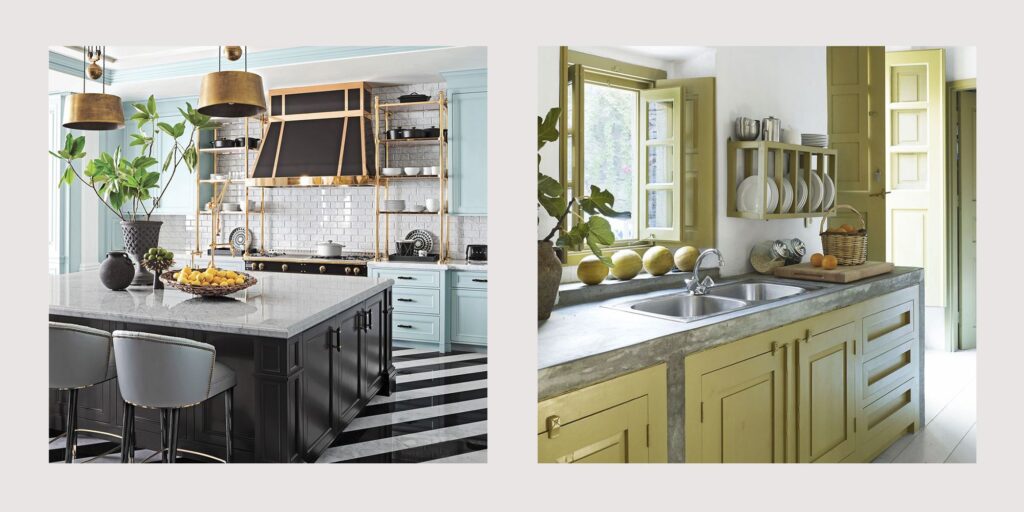
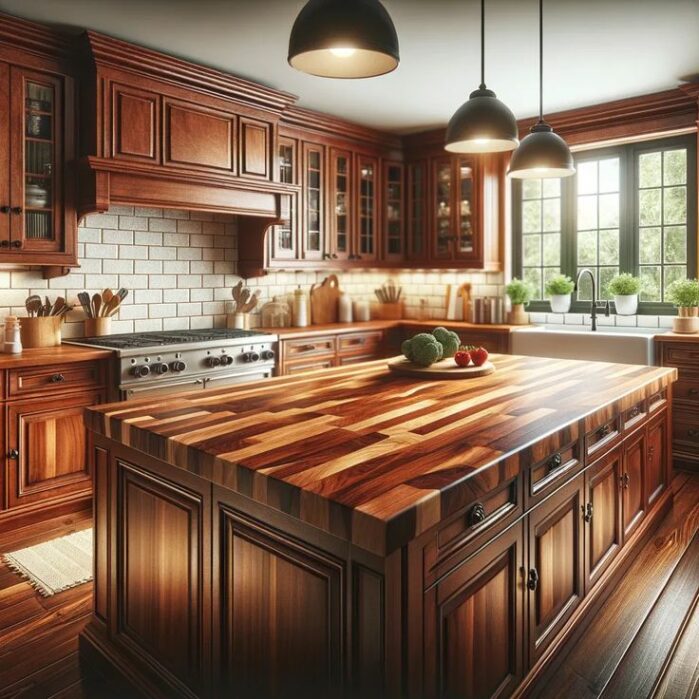
Thinking about giving your kitchen a new look without spending a fortune? Painting your cabinets might be just what you need. It’s an easy way to make your kitchen feel fresh and modern. If you’re ready to tackle this project, you’re in for a treat. It’s amazing how a simple coat of paint can change the entire vibe of your kitchen. Old cabinets can look brand new again, and your kitchen will feel clean and updated.
But, before you grab that paintbrush, there are a few important steps to follow. It’s not just about slapping on some paint. You need to do it right to make sure the finish is smooth and lasts a long time.
When I painted my own kitchen cabinets, I was surprised at how much of a difference it made. It felt like a brand new kitchen! So, if you’re up for a DIY project, this is a great one to start with. The best thing is -you don’t need to be an expert. Just a bit of patience and attention to detail will do the trick. Just follow these tips for painting kitchen cabinets, and your cabinets will look like they were done by a pro.
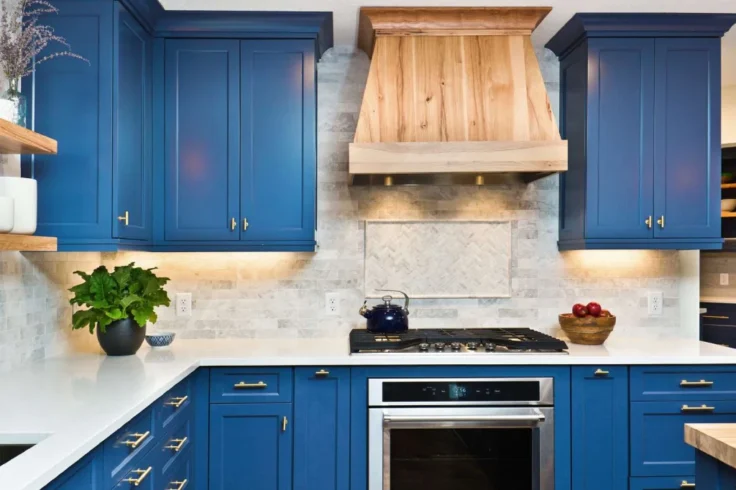
Preparation Essentials For Painting Your Cabinets
Painting kitchen cabinets can transform your kitchen. With the right preparation, you can achieve a professional finish. In this section, we will cover the preparation essentials. Preparing your cabinets properly ensures the paint adheres well and lasts longer.
Gathering Supplies
Before starting, gather all the supplies you need. This saves time and makes the process smoother.
- Paint: Choose high-quality paint suitable for cabinets. Semi-gloss or satin finishes work best.
- Primer: Use a primer to ensure better paint adhesion and durability.
- Sandpaper: Get various grits, such as 120 and 220, for different sanding stages.
- Brushes and Rollers: Use high-quality brushes and foam rollers for a smooth finish.
- Painter’s Tape: Protect areas you do not want to paint with painter’s tape.
- Drop Cloths: Protect your floors and countertops with drop cloths.
- Screwdriver: Remove cabinet doors and hardware using a screwdriver.
- Cleaning Supplies: Use a degreaser or a mix of water and vinegar.
- Wood Filler: Fill any holes or imperfections with wood filler.
Cleaning The Cabinets
Cleaning your cabinets before painting is super important. Dirt and grease can mess up how the paint sticks.
Here’s what you need to do:
- Step 1: Take off all the cabinet doors and hardware. Use a screwdriver for this. Don’t forget to label each door and its parts. This will make putting everything back a breeze.
- Step 2: Make a cleaning solution. Mix water and vinegar (1 part vinegar to 3 parts water) or grab a degreaser. Use a cloth or sponge to scrub the cabinets well. Pay extra attention to the spots near the stove. Those areas can get pretty greasy.
- Step 3: Rinse the cabinets with clean water. Let them dry completely. Why? Because any leftover moisture can make it hard for the paint to stick.
- Step 4: Once dry, check for any holes or imperfections. Use wood filler to fix these. Let it dry following the instructions on the filler. Then, sand the filled areas with fine-grit sandpaper (220 grit).
- Step 5: Wipe the cabinets with a damp cloth to get rid of any sanding dust. Now, your cabinets are clean and ready for priming and painting.
And that’s it! Just follow these steps, and you’ll be ready to paint your cabinets like a pro. Easy, right?
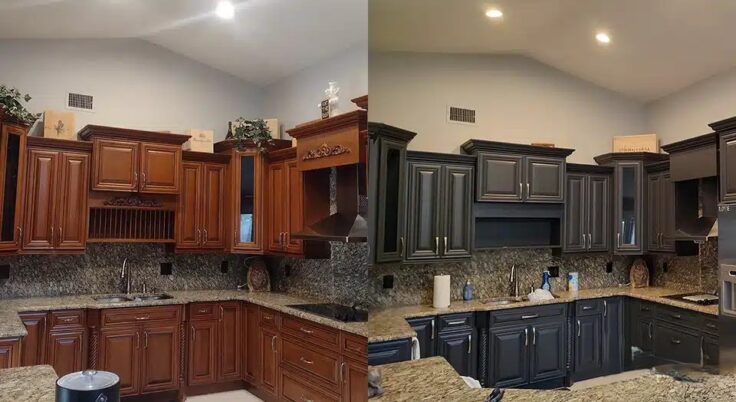
Choosing The Right Paint
Painting kitchen cabinets is a great way to refresh your space without a full renovation. One of the most important steps in this process is choosing the right paint. The type and color of paint you select can make a big difference in the final look and durability of your cabinets.
Types Of Paint
There are several types of paint to consider for your kitchen cabinets. Each type has its own set of advantages and disadvantages. Here are some common options:
- Latex Paint: This water-based paint is easy to clean and dries quickly. It’s also less likely to yellow over time. However, it may not be as durable as other types.
- Oil-Based Paint: Known for its durability and smooth finish, oil-based paint is a popular choice for kitchen cabinets. It takes longer to dry and has a strong odor, but it provides a hard, long-lasting finish.
- Chalk Paint: This type of paint is known for its matte finish and ease of use. Chalk paint can give your cabinets a rustic or vintage look, and it’s great for DIY projects.
- Milk Paint: This eco-friendly option is made from natural ingredients. Milk paint is great for creating a distressed look and can be easily sanded for touch-ups.
Color Selection Tips
Choosing the right color for your kitchen cabinets can transform the entire room. Consider these tips:
- Match Your Style: Think about the overall style of your kitchen. For a modern look, go for bold or neutral colors. For a rustic or farmhouse style, consider softer hues like pastels or whites.
- Consider Your Space: Dark colors can make a small kitchen feel even smaller. Light colors can make it feel more open and airy.
- Complement Your Countertops: Your cabinet color should complement your countertops and backsplash. Use contrasting colors for a striking look or similar tones for a cohesive feel.
- Test Samples: Always test a few paint samples on your cabinets before making a final decision. Colors can look different in various lighting conditions.
Here are some popular color choices for kitchen cabinets:
- White: Timeless and versatile, white cabinets can brighten up any kitchen.
- Gray: A sophisticated choice that pairs well with many countertop materials.
- Navy Blue: A bold option that adds depth and elegance.
- Green: Perfect for a natural, earthy vibe.
- Black: Modern and sleek, black cabinets can create a striking contrast.
Remember, the right paint can make all the difference in your kitchen cabinet makeover. Choose wisely!
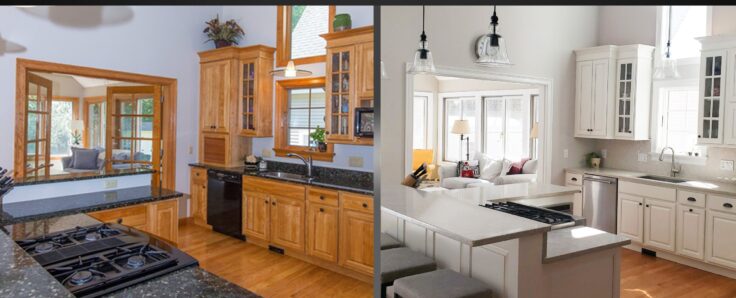
Techniques For Painting
Painting kitchen cabinets is an excellent way to give your kitchen a fresh and updated look. With the right techniques, you can achieve a professional finish that will last for years. In this section, we will explore different techniques for painting your kitchen cabinets. We’ll cover the pros and cons of brushing vs. spraying and the importance of applying primer for a durable and smooth finish.
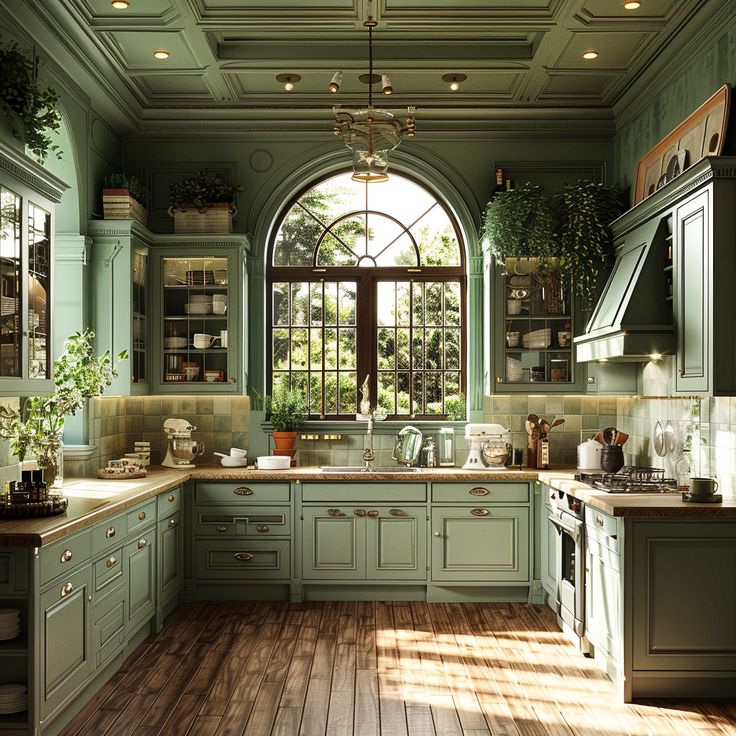
Brushing Vs. Spraying
Choosing between brushing and spraying is crucial for painting kitchen cabinets. Each method has its benefits and drawbacks.
Brushing:
- Cost-Effective: Brushes are generally cheaper than spray equipment.
- Control: You have more control over the application, especially in tight spaces.
- Less Overspray: Less risk of paint particles landing on unintended areas.
Drawbacks of Brushing:
- Brush Marks: It’s challenging to avoid brush marks, which can affect the finish.
- Time-Consuming: Brushing can take longer, especially for large surfaces.
Spraying:
- Smooth Finish: Spraying offers a smooth, professional-looking finish.
- Speed: It covers large areas quickly, reducing the overall time spent.
- Even Coating: Ensures an even application of paint.
Drawbacks of Spraying:
- Cost: Spray equipment can be expensive.
- Preparation: Requires extensive masking and preparation to protect other surfaces.
- Overspray: There’s a risk of paint mist settling on unintended areas.
Applying Primer for Painting Kitchen Cabinets
Primer is essential for achieving a long-lasting and smooth finish on your kitchen cabinets. It helps the paint adhere better and provides a uniform base.
Why Apply Primer?
- Adhesion: Primer improves the paint’s grip on the surface, preventing peeling and chipping.
- Stain Blocking: It seals stains, preventing them from bleeding through the paint.
- Uniformity: Provides a consistent base color, enhancing the final appearance.
Steps to Apply Primer:
- Clean the Surface: Remove dirt and grease with a degreaser or soap and water.
- Sand the Cabinets: Lightly sand to create a smooth surface for the primer.
- Remove Dust: Wipe away any dust with a damp cloth.
- Apply Primer: Use a brush or sprayer to apply an even coat of primer.
- Drying Time: Allow the primer to dry completely before sanding lightly and applying the paint.
Proper preparation and priming can make a significant difference in the quality and durability of your painted kitchen cabinets.
Also Read: Best 27 Cherry Kitchen Cabinets Idea For your Home
Sanding And Surface Prep
Painting kitchen cabinets is a great way to give your kitchen a fresh look without spending a lot of money. A crucial step in this process is sanding and surface preparation. Proper sanding ensures that the paint adheres well and provides a smooth finish. Let’s dive into the details of why sanding is important and how to choose the right grit for your project.
You May Like Reading: White Oak Kitchen Cabinets: Timeless Elegance for Modern Homes
Importance Of Sanding
Sanding is essential for achieving a professional-looking paint job. It helps in several ways:
- Removes old paint and finish: Sanding helps to remove any existing paint or varnish, creating a clean surface for the new paint.
- Creates a smooth surface: Sanding evens out any imperfections, such as scratches or dents, on the cabinet surfaces.
- Improves paint adhesion: A sanded surface allows the paint to adhere better, reducing the chances of peeling or chipping.
Using The Right Grit
Choosing the right grit sandpaper is vital for preparing your kitchen cabinets. Different grits serve different purposes:
- Coarse grit (60-80): Use coarse grit for removing heavy layers of old paint or varnish. It is also suitable for smoothing out rough surfaces.
- Medium grit (100-150): Medium grit is ideal for general sanding and removing minor imperfections. It provides a balance between removing material and creating a smooth surface.
- Fine grit (180-220): Fine grit is perfect for the final sanding before painting. It helps to create a smooth, even surface ready for paint.
Using the right grit ensures that your cabinets are well-prepared for painting. Proper sanding can make a significant difference in the final appearance and durability of your paint job.
Application Steps
Painting kitchen cabinets can transform the look of your kitchen without the need for a complete renovation. To achieve a professional finish, following the correct application steps is crucial. This guide will walk you through the essential steps to ensure your kitchen cabinets look stunning.
First Coat Application
Applying the first coat of paint is a crucial step. Start by ensuring the surface is clean and dry. Use a high-quality primer to cover any stains or dark colors. This helps the paint adhere better and provides a uniform base.
When applying the first coat, use a brush for corners and edges. A roller works well for larger, flat surfaces. Hold the brush or roller with a steady hand, and apply the paint in thin, even layers. Avoid overloading your brush or roller with paint to prevent drips and streaks.
- Use a high-quality primer: Ensures better adhesion and coverage.
- Brush for corners and edges: Allows precision in tight spots.
- Roller for large surfaces: Provides a smooth and even application.
- Thin, even layers: Prevents drips and ensures a smooth finish.
Allow the first coat to dry completely before applying the second coat. This prevents the paint from peeling or bubbling. Proper application of the first coat sets the foundation for a professional-looking finish.
Drying Times
Drying times are essential to achieve a durable and smooth finish. After applying the first coat, allow it to dry for at least 24 hours. This ensures the paint has set properly. Factors like humidity and temperature can affect drying times, so make sure your space is well-ventilated.
Once the first coat is dry, lightly sand the surface with fine-grit sandpaper. This helps to remove any imperfections and ensures the second coat adheres well. Wipe away any dust with a tack cloth before applying the next layer of paint.
Patience is key during this stage. Allow each coat to dry completely to achieve a flawless finish. Proper drying times ensure your paint job lasts longer and looks professional.
Finishing Touches
Painting kitchen cabinets can transform your kitchen without the hefty price tag of a full renovation. Once the painting is complete, the finishing touches make all the difference. These final steps ensure a polished and professional look. Let’s explore the key aspects of the finishing touches: adding hardware and applying the final coat.
Adding Hardware
Adding new hardware to your painted kitchen cabinets can elevate their appearance. Choosing the right knobs, pulls, and handles can create a cohesive look. Here are some tips for selecting and installing hardware:
- Choose a Style: Select hardware that matches your kitchen’s style. For a modern look, choose sleek, minimalist pieces. For a traditional feel, opt for ornate designs.
- Consider the Finish: Match the hardware finish with other elements in your kitchen. Chrome, brushed nickel, and brass are popular choices.
- Measure and Mark: Use a measuring tape and pencil to mark where the hardware will go. Ensure symmetry by measuring accurately.
- Pre-Drill Holes: Pre-drill holes for the screws to avoid splitting the wood. Use a drill bit slightly smaller than the screws.
- Install Hardware: Attach the hardware using screws and a screwdriver. Ensure they are tight but not over-tightened to avoid damage.
Final Coat Recommendations
The final coat of paint or finish is crucial for durability and aesthetics. Here are some key recommendations:
- Choose the Right Paint: Use high-quality paint designed for cabinets. Satin or semi-gloss finishes are best for kitchen cabinets.
- Apply Thin Layers: Apply thin, even coats. This prevents drips and ensures a smooth finish. Two to three coats are usually sufficient.
- Allow Adequate Drying Time: Let each coat dry completely before applying the next. This can take 24 hours or more, depending on the paint.
- Use a Fine Brush or Roller: Use a fine bristle brush or foam roller for the final coat. This helps achieve a smooth, professional finish.
- Inspect and Touch Up: After the final coat dries, inspect the cabinets for any imperfections. Touch up any areas as needed.
ensures your cabinets will look beautiful and last for years. Follow these steps for a flawless finish.
Maintenance Tips for Painted Kitchen Cabinets
Painting kitchen cabinets can transform your kitchen. But after painting, you need to maintain them. Proper maintenance keeps your cabinets looking fresh and beautiful. Here are some useful maintenance tips.
Cleaning Painted Cabinets
Regular cleaning is essential. Dust and grime can build up on your cabinets. To clean painted cabinets, follow these steps:
- Use a soft cloth or sponge.
- Dip it in warm, soapy water.
- Wipe the cabinets gently.
- Rinse with clean water and another cloth.
- Dry with a soft towel.
Avoid harsh chemicals. They can damage the paint. Instead, use a mild dish soap. For tougher stains, try a mixture of vinegar and water. Here is a simple table for quick reference:
Touch-up Tips
Over time, your cabinets may get chipped or scratched. Touch-ups keep them looking new. Here are some tips for touching up painted cabinets:
- Keep extra paint from the original job.
- Use a small brush for precise application.
- Clean the area before touching up.
- Apply paint in thin layers.
- Let each layer dry completely before adding another.
Common Mistakes
Painting kitchen cabinets can transform your kitchen. Yet, many face common mistakes. These errors can ruin your hard work. Here, we discuss the most frequent pitfalls and how to avoid them.
Avoiding Drips
Drips can spoil your cabinet’s look. Ensuring a smooth finish is key. Here are some tips to avoid drips:
- Use the right brush: A high-quality brush helps apply paint evenly.
- Thin layers: Apply thin coats of paint. Thick coats are more likely to drip.
- Check your work: Inspect for drips as you go. Catching them early is easier.
Another useful technique is using a paint sprayer:
| Method | Pros | Cons |
|---|---|---|
| Brush | Great control, less setup | More prone to drips |
| Paint Sprayer | Even application, faster | Requires more preparation |
Keep your painting area clean. Dust and debris can cause uneven paint and drips. Also, work in a well-ventilated area. This helps the paint dry faster, reducing the chances of drips forming.
Preventing Peeling
Peeling paint is another common issue. It can ruin the appearance of your cabinets. To prevent peeling, follow these tips:
- Proper surface preparation: Clean and sand the cabinets before painting. Remove all grease and dirt.
- Use a primer: Priming helps the paint adhere better. It also prevents stains from bleeding through.
- Quality paint: Invest in high-quality paint. Cheap paint is more likely to peel.
Another important step is to allow each coat to dry completely before adding another. Rushing this process can lead to peeling. Also, consider the environment:
- Humidity: High humidity can affect paint adhesion. Use a dehumidifier if necessary.
- Temperature: Paint in a moderate temperature range. Extreme cold or heat can cause problems.
Finally, handle your cabinets with care after painting. Avoid heavy cleaning or scrubbing for the first few weeks. This allows the paint to cure fully and adhere properly.
Frequently Asked Questions
How Do You Prep Kitchen Cabinets For Painting?
Start by removing doors and hardware. Clean surfaces with a degreaser. Sand the cabinets lightly to ensure paint adhesion. Use a primer to seal the wood. Fill any holes or imperfections with wood filler. Sand again for a smooth finish.
What Paint Is Best For Kitchen Cabinets?
Choose high-quality, durable paint specifically for cabinets. Acrylic latex paints are popular for their easy cleanup and durability. Oil-based paints offer a hard finish but take longer to dry. Consider semi-gloss or satin finishes for easy cleaning.
Do I Need To Sand Before Painting Cabinets?
Yes, sanding is crucial for paint adhesion. Lightly sand to remove the glossy finish. This helps the primer and paint stick better. Use fine-grit sandpaper for best results. Always clean the dust off thoroughly before painting.
How Many Coats Of Paint Do Kitchen Cabinets Need?
Usually, two coats of paint are sufficient. The first coat provides coverage, while the second ensures a smooth, even finish. Always let the first coat dry completely before applying the second. This ensures durability and a professional look.
Conclusion
Painting kitchen cabinets can refresh your kitchen’s look. Following these tips simplifies the process. Clean and sand surfaces for better paint adhesion. Use primer for a smooth finish. Choose high-quality paint for durability. Apply paint in thin, even coats. Allow ample drying time between coats.
Proper ventilation helps paint dry faster. Enjoy your beautiful, updated kitchen cabinets. Happy painting!

